
You’ve seen them: the AI headshots with impossibly smooth skin, a vacant stare, and that tell-tale digital sheen. You’ve probably also seen the viral social media posts from July 2026, showcasing elaborate, multi-app workarounds just to get one decent-looking photo. This proves a simple truth: most AI headshot generators fail because they offer novelty, not control.
Getting a realistic, professional headshot isn't about finding the magic prompt or re-rolling a hundred times. It's about implementing a professional workflow. This guide will walk you through that exact process on MyUP.ai, moving you from gambling on a single image to directing the production of an entire suite of on-brand, usable headshots.
Step 1: Train the AI with the right source photos
The quality of your final headshot is determined before you even write a prompt. It starts with the source images you use to train the AI on your likeness. An AI model is only as good as the data it learns from, so providing a poor-quality, inconsistent set of photos will guarantee a fake-looking result.
On MyUP.ai, you begin by creating a personal model, which involves uploading a handful of photos. To get a model that truly captures your features, follow this checklist for your source images:
- Use 5-10 photos. This provides enough data for the AI to understand your face from multiple perspectives.
- Vary your angles and expressions. Include photos looking straight at the camera, three-quarter views, and profiles. Mix in a genuine smile, a neutral expression, and a more thoughtful look.
- Ensure high resolution and good lighting. Use clear, well-lit photos. Avoid blurry, pixelated images or photos taken in harsh, unflattering light.
- Keep it simple. Your face should be clearly visible. Avoid photos with sunglasses, heavy shadows from hats, or your hands covering your face. Use only solo shots.
Uploading this curated set to MyUP trains a model that understands the nuances of your face, which is the foundation for a realistic output. The process is similar to how you might train an AI on a specific art style; you're teaching it the essential visual information it needs to replicate.
Step 2: Define your professional brand with a Brandkit
Here is where you take control away from the AI and establish true creative direction. The single biggest reason AI headshots look generic is the lack of brand consistency. The background is a random gradient, the lighting is generic, and the overall mood doesn't match your professional identity. MyUP's Brandkit solves this permanently.
Instead of describing your brand in every prompt, you define it once in your Brandkit. For professional headshots, this means setting up:
- Brand Colors: Upload your exact brand color palette. You can specify that all headshots must use a specific hex code for the background, ensuring every image is instantly recognizable as part of your brand.
- Lighting Style: Don't settle for default lighting. Define your preferred style using professional terms. For example, you can specify “softbox key light from the left, with a subtle rim light” to create a consistent, flattering look across all your images.
- Logo Assets: For corporate team photos or official assets, you can even upload your logo to be subtly placed on materials within the image or as a watermark.
By setting this up first, you ensure every headshot generated—whether for you or your entire team—adheres to the same visual standards. The Brandkit handles the consistency, freeing you up to focus on the creative details.
Step 3: Direct the shot with a professional prompt
With your likeness trained and your brand identity locked in, you can now act as the creative director for the photoshoot. A professional prompt goes far beyond “headshot of a man.” It provides specific, technical details that guide the AI toward a photorealistic result.
Structure your prompt like a brief to a photographer:
- Attire: Be specific. Instead of “business clothes,” write “wearing a fitted navy blue blazer, a crisp white button-down shirt, no tie.”
- Camera and Lens: This is a critical step for realism. Specifying the gear forces the AI to mimic real-world physics. For example: “photograph shot on an 85mm f/1.8 lens, shallow depth of field, blurred office background.”
- Expression and Pose: Guide the mood of the shot. Use phrases like “head and shoulders portrait, looking directly at the camera with a confident, friendly expression.”
Combining these elements gives the AI a clear, professional target to hit. To achieve a sharp, editorial quality suitable for a magazine feature or a premium website, you can use a workflow designed for that exact purpose.
Workflow code: #myup-yk1h-uqy8
High-End Editorial Fashion Magazine Cover
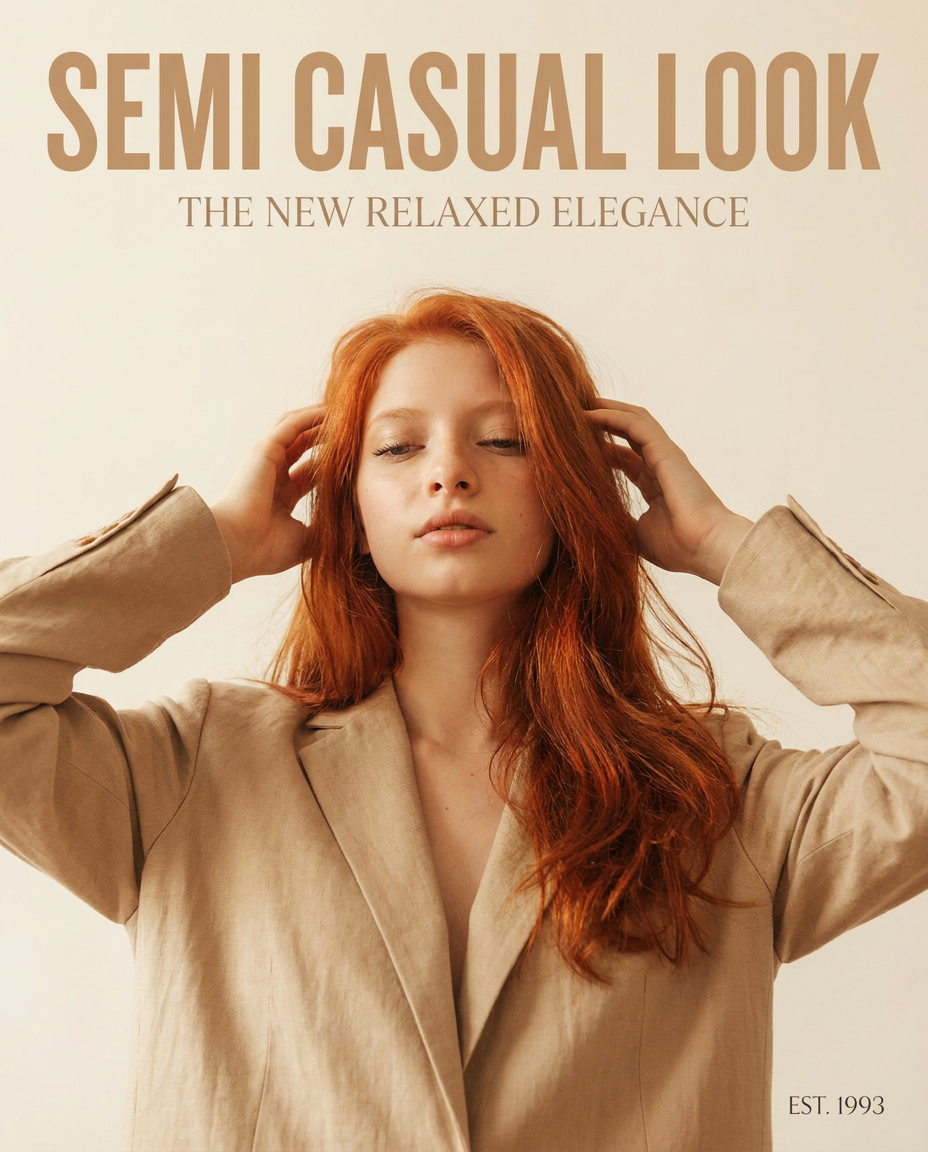
Drop in any portrait and turn it into a high-end editorial magazine cover. It frames your subject beautifully with relaxed, high-fashion posing and soft styling for a polished print aesthetic.
Regenerate using your own assets.
Step 4: Generate a suite of on-brand options
A single headshot is a liability; a suite of headshots is an asset. Your LinkedIn profile picture has a different job than the photo on your company’s “About Us” page or the one in your speaker bio for a conference. The goal is to create a library of consistent, on-brand options for any context.
Using your MyUP workflow, you can now generate multiple variations. Since your Brandkit is controlling the core visual identity (background, lighting), you can focus on creating variety in performance. Run the workflow multiple times or make small tweaks to the prompt—like changing the expression from “confident smile” to “thoughtful expression”—to build out your set.
You can also run your trained model through workflows designed for different moods. For a more dramatic, high-impact portrait, a workflow that uses bolder lighting can create a powerful alternative to the standard corporate look. While its name suggests another use, the core of this next workflow is about creating a 'Bold Portrait', making it perfect for this task.
Workflow code: #myup-xjsb-hirr
Bold Portrait Food Advertising Photo
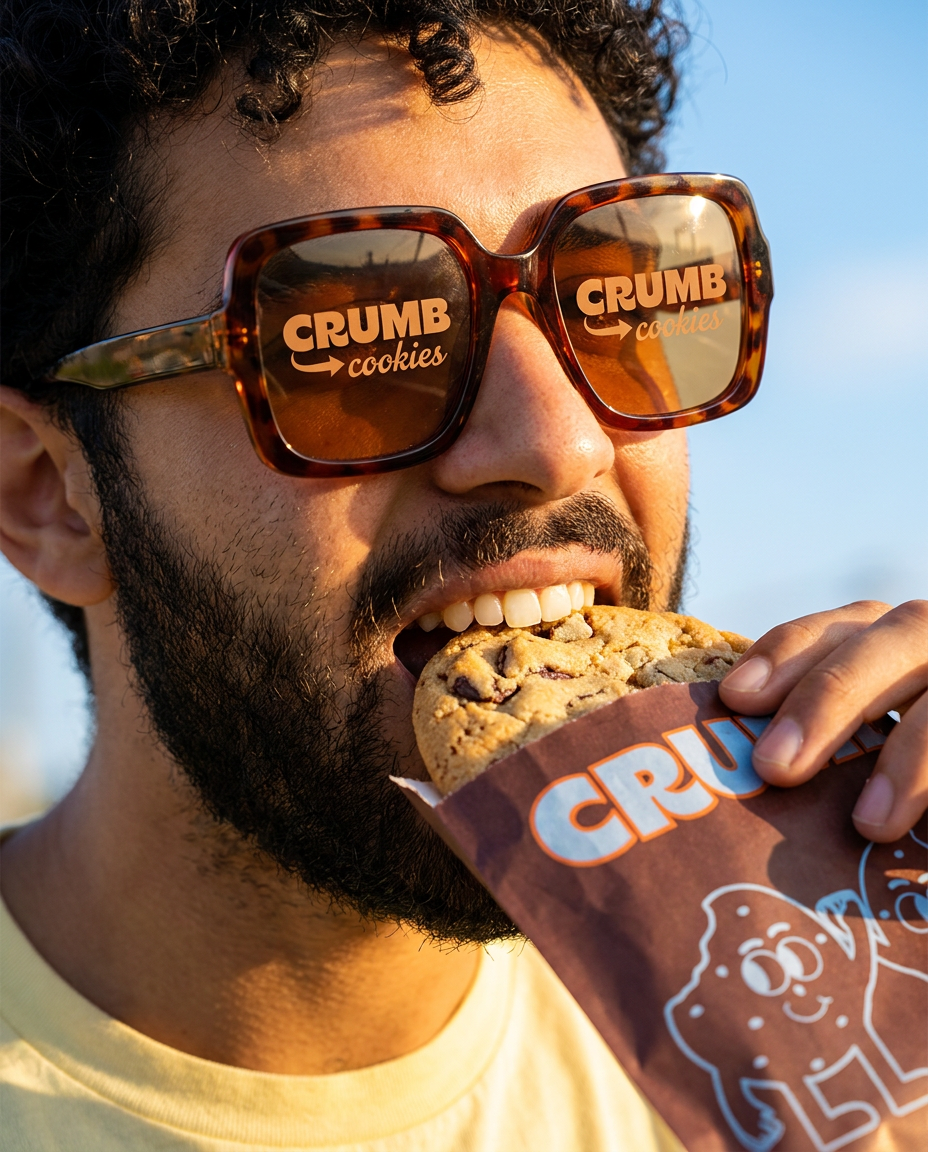
Get those high-impact, tight action shots of people actually enjoying your food brand. It drops your product right into a messy, realistic close-up bite shot that feels like a premium lifestyle campaign instead of a boring studio packshot.
Regenerate using your own assets.
Step 5: Validate and select your final headshots
This is the final, crucial step where human oversight makes all the difference. MyUP is the production engine, but you are the final editor. The AI generates the options based on your direction; you validate the results and make the final creative selections.
When reviewing your generated suite of headshots, look closely at the details that AI models can sometimes get wrong:
- The Eyes: Do they have a natural-looking catchlight? Do they look focused and alive, not glassy?
- Hands and Fingers: If your pose includes hands, inspect them carefully. Ensure the anatomy is correct.
- Fine Details: Check the texture of hair, the fabric of clothing, and the edges where the subject meets the background for any strange artifacts or blurring.
After selecting your core professional shots, you might also generate a few with a more casual or dynamic feel for different uses. A workflow designed for professional but active contexts can deliver this style while still maintaining high quality.
Workflow code: #myup-ywpr-rqz6
Professional Sportswear Ad
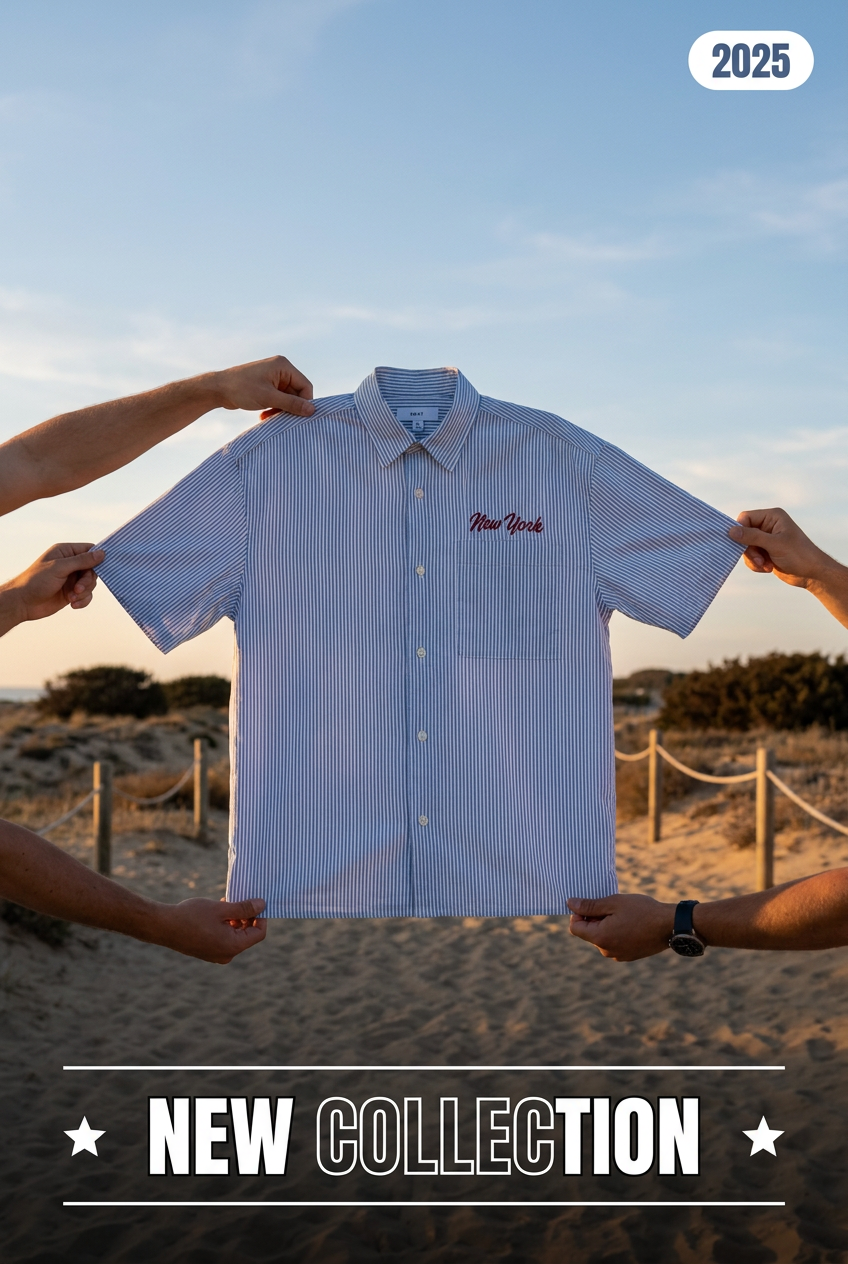
Suspends your apparel right in the center of a high-energy promo shot, held up by hands around the frame. It gives your shirts or jerseys a gritty, collaborative streetwear editorial look that feels alive and physical.
Regenerate using your own assets.
From single shot to professional asset library
By following this workflow, you've done more than create a single photo. You've built a repeatable system for generating high-quality, on-brand visual assets. You now have a complete library of headshots, ready for any marketing, sales, or personal branding need that arises—all with consistent lighting, colors, and quality. You’ve stopped gambling on random outputs and started directing a professional production. That’s the difference between an AI novelty and a professional creative tool. You can explore all of MyUP's capabilities on our pricing page.
