
You’ve tried the one-click AI headshot apps. You uploaded a selfie, paid your credits, and got back a gallery of images that look like a slightly-off cousin you’ve never met. The eyes are weird, the skin is too smooth, and it just doesn’t feel like you.
You’re not alone. The frustration with generic AI headshots has become so common that highly technical tutorials are now going viral on platforms like X and Reddit, detailing complex workflows with custom models to achieve true likeness. They prove that amazing results are possible, but they also require a daunting amount of technical skill.
There is a better way. You don't need to be a machine learning expert to get professional results. You just need a professional workflow. This guide will walk you through the exact steps to train a reusable AI character model of yourself on MyUP.ai, giving you complete control to generate countless headshots that are not only realistic but also perfectly styled for your brand.
Your AI headshot looks fake. Here’s why.
The core problem with most AI headshot generators is that they don't truly know you. They use a massive, pre-trained model that has seen billions of faces and tries to blend your features into its existing knowledge. It’s an educated guess, which is why the output often lands in the uncanny valley—close, but unsettlingly wrong.
These tools are designed for speed and volume, not for likeness or creative control. They can't capture the specific nuances that make your face unique. A professional headshot isn't just a picture of a face; it's a brand asset. It needs to be authentic. To achieve that, the AI needs to learn from you directly.
The professional workflow: train a character that is actually you
Instead of relying on a generic model's best guess, the professional approach is to create a lightweight, custom model trained on your own photos. In MyUP.ai, we call this creating a Character. By providing the AI with a handful of curated reference images, you give it the specific data it needs to understand your facial structure, expressions, and features from multiple angles.
Once your Character is trained, it becomes a reusable asset in your MyUP account. You can then place this highly accurate digital version of yourself into any scene, style, or lighting environment you can imagine, ensuring every single output looks consistently and authentically like you.
Step 1: Choose your reference photos (the 5 dos and don'ts)
The quality of your trained Character depends entirely on the quality of your input photos. Garbage in, garbage out. To get the best results, you need to provide a clean, varied dataset. Aim for 10-15 high-quality photos.
Here’s a simple checklist to follow:
The Dos:
- Vary your angles: Include photos looking straight at the camera, three-quarter profiles, and side profiles.
- Show different expressions: Use a mix of smiling, neutral, and thoughtful expressions. Keep them natural.
- Use good, varied lighting: Provide images in different lighting conditions, like soft indoor light and natural outdoor light. Avoid harsh, direct shadows across your face.
- Keep it clear: Use high-resolution photos where your face is in sharp focus.
- Simple backgrounds are best: A plain wall or uncluttered background helps the AI focus only on you.
The Don'ts:
- No obstructions: Avoid photos with sunglasses, hats, or hands covering parts of your face.
- No heavy filters: Don't use images with dramatic Instagram filters or heavy digital editing.
- No other people: Every photo should be a solo shot.
- No duplicates: Don't upload multiple photos from the same shoot that look nearly identical.
- No low quality: Avoid blurry, grainy, or poorly lit images.
Once you've selected your photos, you simply upload them in MyUP to begin the training process. MyUP handles the technical side; you just provide the source material.
Step 2: Generate your first headshots with a style template
With your Character trained, you’re ready to create. The easiest way to start is with a MyUP workflow template. These templates are pre-built with expert prompts for lighting, composition, and camera settings, giving you a high-quality stylistic base to build upon.
You don't need to start from a blank canvas. For a clean, modern, and professional look, a template designed for high-end advertising can be a perfect starting point. The lighting is often flawless and the focus is entirely on the subject.
Workflow code: #myup-ywpr-rqz6
Professional Sportswear Ad
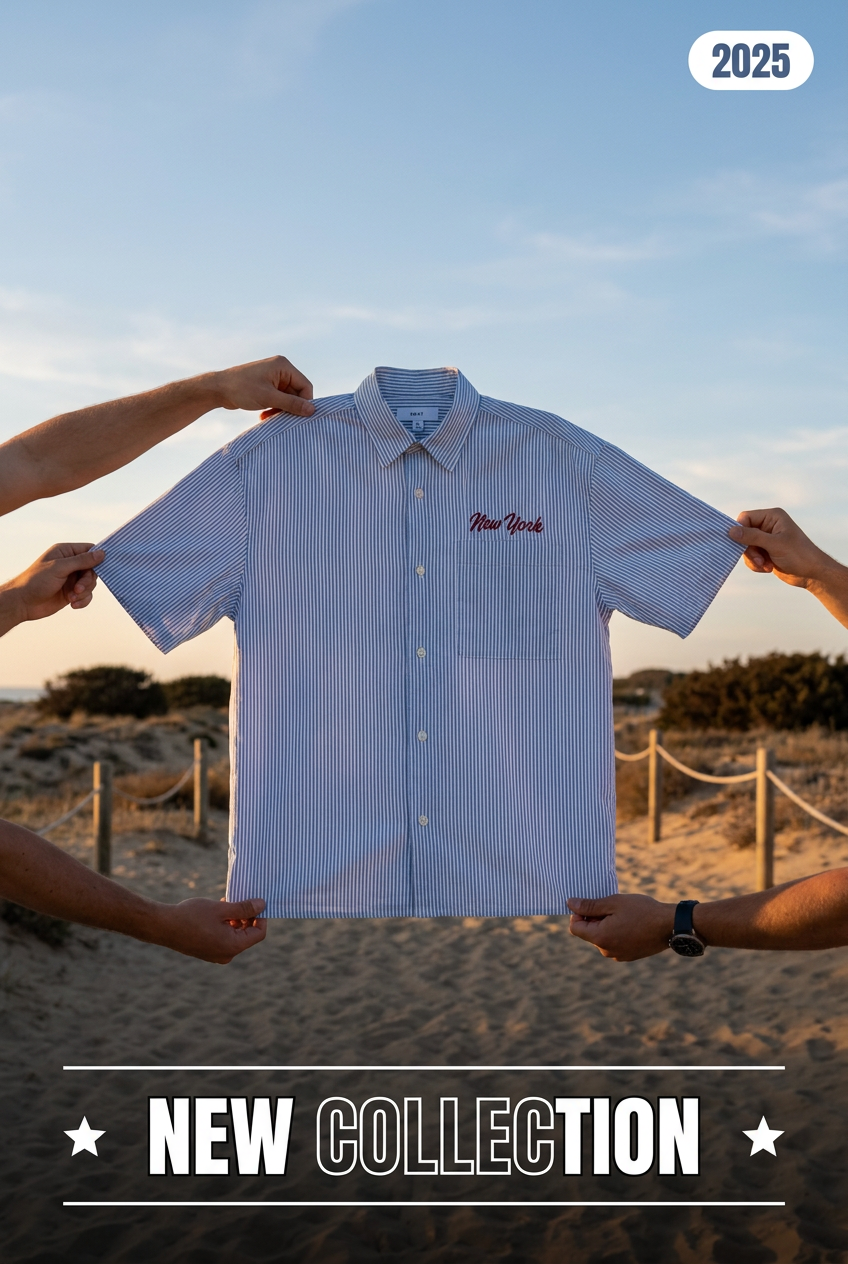
Suspends your apparel right in the center of a high-energy promo shot, held up by hands around the frame. It gives your shirts or jerseys a gritty, collaborative streetwear editorial look that feels alive and physical.
Regenerate using your own assets.
By running this workflow and selecting your newly trained Character, you'll instantly get a set of professional portraits. This is your baseline. From here, you can start refining the details to match your specific brand identity.
Step 3: Dial in the details: from corporate lighting to on-brand backgrounds
A template provides a great start, but true creative control comes from refining the prompt and integrating your brand. A headshot for a lawyer's website needs a different feel than one for a creative director's LinkedIn profile.
First, adjust the lighting through your prompt. You can modify the template's prompt with terms like:
- "Soft, even studio lighting" for a classic corporate look.
- "Dramatic Rembrandt lighting" for a more artistic, high-contrast feel.
- "Warm golden hour lighting, outdoor setting" for a friendly and approachable vibe.
Next, enforce brand consistency. This is where MyUP's Brandkit is essential. If your company uses a specific shade of blue (#0033A0, for example), you can instruct the AI to use that exact color for the background. This is impossible with generic apps. For a team, you can apply the same Brandkit to every person's headshot, ensuring every photo has the exact same background color and tone, creating a perfectly unified look for your company website.
To see how you can achieve a premium, stylized look, try a workflow built for high fashion. The principles of elegant lighting and composition can be applied to any professional portrait.
Workflow code: #myup-yk1h-uqy8
High-End Editorial Fashion Magazine Cover
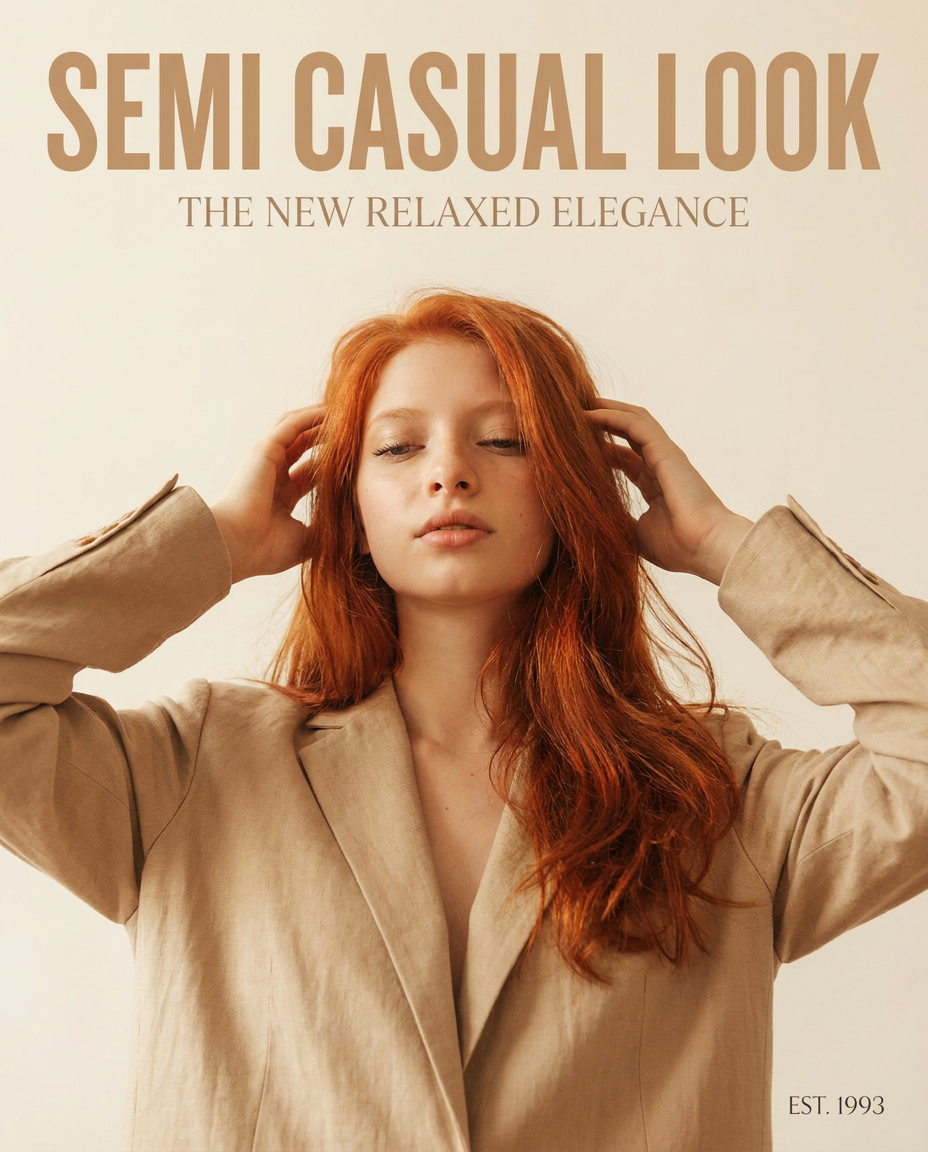
Drop in any portrait and turn it into a high-end editorial magazine cover. It frames your subject beautifully with relaxed, high-fashion posing and soft styling for a polished print aesthetic.
Regenerate using your own assets.
Step 4: Create variations for every professional need
The most powerful part of this workflow is its efficiency. The initial setup—selecting photos and training the Character—is a one-time investment. Now you can generate an endless supply of on-brand, high-quality headshots in minutes.
Need a new photo for a conference speaker bio? Rerun the workflow with a prompt for a different outfit or background. Want a more casual option for your personal website? Change the lighting prompt to something more natural. The underlying likeness of your Character remains perfect every time.
You can even borrow techniques from other disciplines. A workflow designed for dramatic food photography, for instance, can teach you a lot about creating a bold, eye-catching portrait. The lighting is designed to make the subject pop.
Workflow code: #myup-xjsb-hirr
Bold Portrait Food Advertising Photo
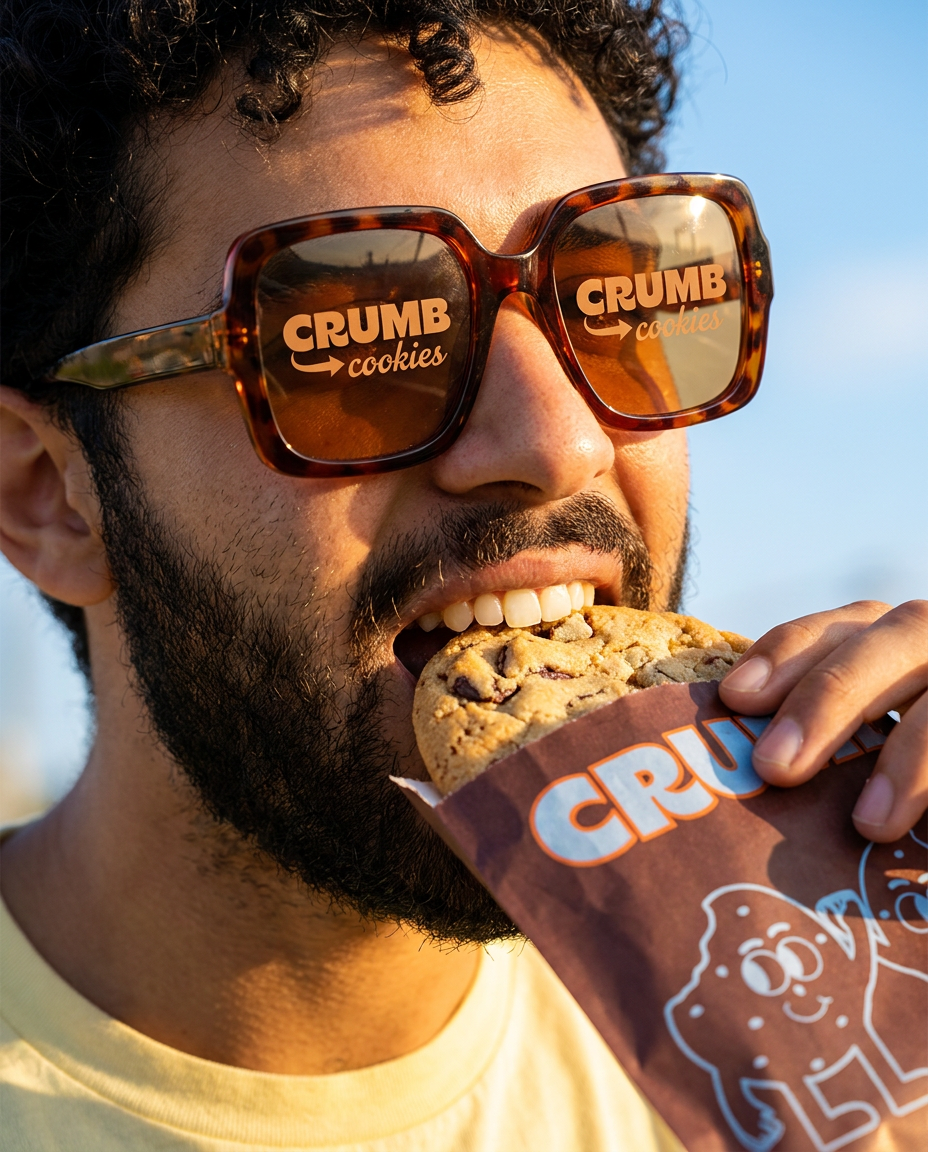
Get those high-impact, tight action shots of people actually enjoying your food brand. It drops your product right into a messy, realistic close-up bite shot that feels like a premium lifestyle campaign instead of a boring studio packshot.
Regenerate using your own assets.
By using your trained Character with different stylistic workflows, you can build a complete library of professional images for every possible context, all without a single photoshoot.
The final check: AI executes, you approve
An AI headshot generator is a production tool, not a magic button. The goal is to create a professional asset that serves a business purpose. MyUP's workflow is designed to give you options and control, but the final decision is always yours. The AI handles the complex rendering and production; you provide the creative direction and validation.
Generate multiple variations. Scrutinize the details. Choose the image that best represents your professional brand. This human-in-the-loop approach ensures the final result isn't just technically good, but strategically right. It's the difference between a fun AI picture and a true professional asset.
