You’ve seen the viral posts. The team headshots where everyone has the same glossy, synthetic skin and dead-eyed stare. Or worse, the truly disastrous results with six fingers and melting ears. Many have paid for dedicated services like the new HeadshotPro AI, only to get back images that feel uncanny and unusable. The frustration is real: you need a professional photo, not a digital caricature.
The issue isn't that AI is bad at faces. The issue is that one-click generators are a lottery. They take away all control, leaving you to hope for a lucky roll. A professional result doesn't come from a single lucky click; it comes from a repeatable process where you are the director.
Instead of gambling, you can build a reusable 'face model'—a core workflow that understands your likeness and can generate a suite of headshots for any context on demand. This workflow is your starting point.
Workflow code: #myup-yk1h-uqy8
High-End Editorial Fashion Magazine Cover
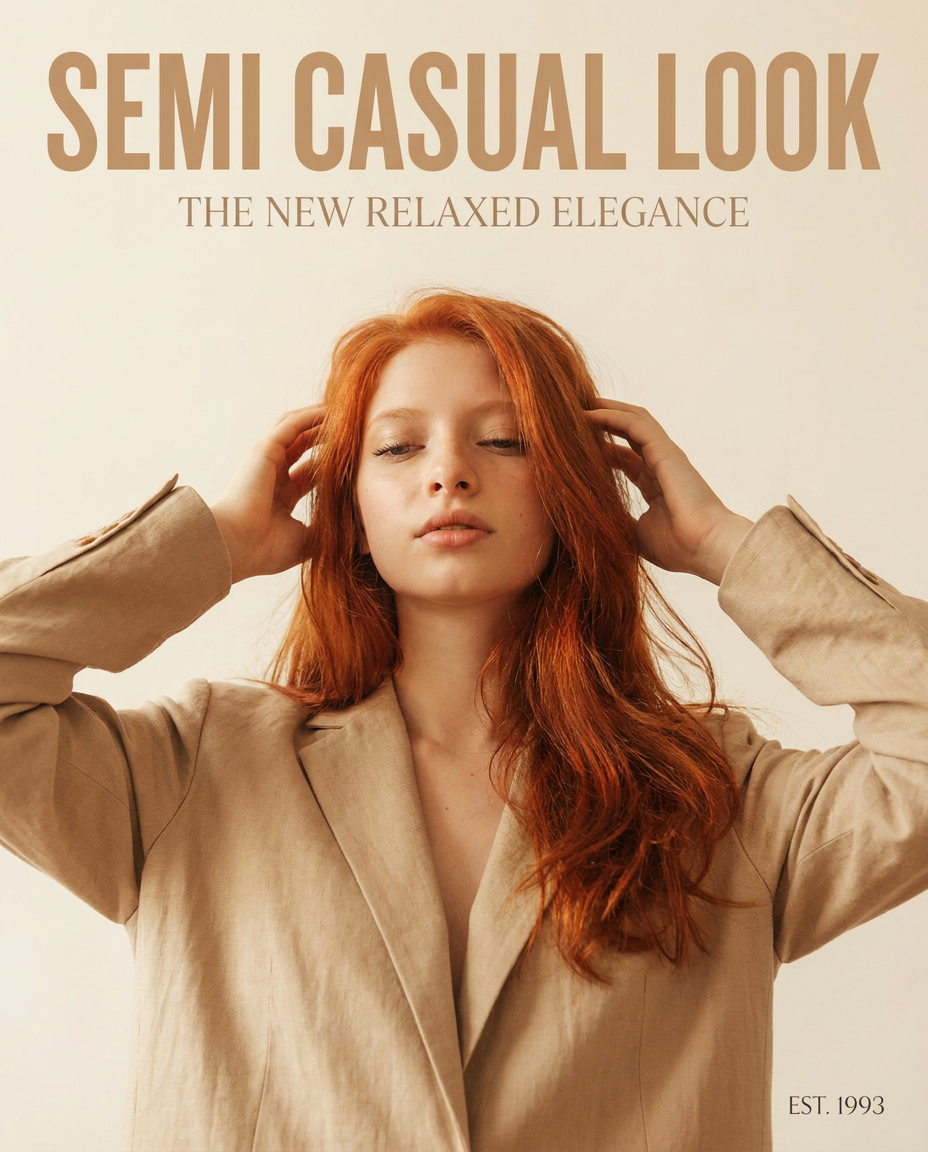
Drop in any portrait and turn it into a high-end editorial magazine cover. It frames your subject beautifully with relaxed, high-fashion posing and soft styling for a polished print aesthetic.
Regenerate using your own assets.
The 4-step workflow for creating your reusable 'face model'
Building your personal face model in MyUP means you define your core likeness once, then reuse it infinitely. You establish the non-negotiable details of your face and then simply prompt for new outfits, settings, and lighting. The user validates the result; MyUP handles the production.
Step 1: Choose your reference photos
The quality of your output depends heavily on the quality of your input. You'll need 3-5 high-resolution photos of yourself. The ideal set includes:
- Variety of angles: A straight-on shot, a three-quarter view, and a profile.
- Clean lighting: Simple, clear lighting is better than dramatic shadows, which can be misinterpreted by the AI.
- Neutral expressions: Avoid overly dramatic smiles or frowns in your source images.
- Unobstructed face: No sunglasses, hats, or hands covering your facial features.
These images aren't for style; they are for data. The AI uses them to learn the unique geometry of your face.
Step 2: Write the 'identity' prompt
This is where you describe the permanent features that define your likeness. Be specific and factual. Think of it as a police description, not a creative writing exercise. Include details about hair color and style, eye color, distinct facial features (e.g., 'prominent cheekbones,' 'sharp jawline,' 'light freckles across nose'), and ethnicity.
Example Identity Prompt:"A 35-year-old Caucasian woman with shoulder-length brown wavy hair, blue eyes, light freckles, sharp jawline."
This core description will be part of every headshot you generate. The variables (clothing, background) will be added later.
Step 3: Lock in the likeness with reference settings
In your MyUP workflow, you'll upload your reference photos. You then need to tell the AI how strongly to adhere to them. This is often controlled by a parameter called 'image weight' or 'character reference fidelity.' For a realistic headshot, you want this set high. A higher weight tells the model: "Prioritize matching the face in these photos above all else." This is the key to preventing the AI from drifting toward a generic, average face.
Step 4: Iterate on variables for context
With your identity prompt and reference photos locked in, now you can direct the scene. This is where you add the contextual parts of the prompt that change with each use case. You can now generate dozens of variations just by changing a few words.
- For LinkedIn:"...wearing a navy blue blazer, professional office background with soft lighting."
- For a speaker bio:"...wearing a black turtleneck, on a stage with dramatic spotlighting, dark background."
- For an 'About Us' page:"...wearing a casual denim jacket, outdoor urban setting with a slightly blurred background."
You run the workflow for each context, and the result is a consistent person across multiple professional settings.
Troubleshooting: Why your AI headshot still looks 'off' and how to fix it
Even with a solid workflow, you might need to fine-tune the results. If your images are close but not quite right, here are the most common fixes. This is where you move from being a user to a director, making small adjustments to guide the AI to the perfect shot.
Fixing the 'Uncanny Valley' Eyes
Sometimes the eyes just don't look right. They might be slightly asymmetrical, have strange reflections, or just look lifeless. This is where negative prompts are essential. A negative prompt tells the AI what to avoid.
Add this to your negative prompt field:"distorted pupils, asymmetrical eyes, weird reflections, dead eyes, poorly drawn eyes, glare."
Correcting Inconsistent Facial Features
If a key feature—like your nose or a specific mole—isn't showing up consistently, your reference image weight might be too low. Try increasing the weight to force a stricter adherence to your source photos. Conversely, if the result looks too much like a flat copy of your photo, slightly decreasing the weight can give the AI more room to generate a natural, photographic look.
Improving Flat or Boring Lighting
The default lighting in many models is flat and diffuse because it's the 'safest' option. But professional headshots rely on good lighting. Be explicit in your prompt about the lighting style you want. Don't just say 'good lighting'; use photographer's terms.
Try these lighting keywords in your prompt:
- "Soft window light from the side"
- "Rembrandt lighting"
- "Three-point studio lighting"
- "Golden hour sunlight"
- "Bright, airy, high-key lighting"
From one workflow, a complete headshot library
The real power of this method isn't generating one good headshot. It's about never having to worry about headshots again. Once your 'face model' workflow is saved, it becomes a personal asset you can deploy anytime you need a new image.
- Need a new photo for a press kit? Run the workflow with a prompt for a 'confident, editorial-style portrait.'
- Updating the company website? Generate a new set for the whole team using their individual workflows, ensuring a consistent style and quality across all photos.
- Speaking at a conference? Create a dynamic, engaging speaker photo that matches the event's vibe.
This approach gives you a library of on-demand, context-aware professional images, all with a consistent and realistic likeness. It's the same principle of character consistency that's crucial for projects like creating consistent AI storyboards, but applied to your own professional identity.
Stop gambling on generators—start directing your results
The one-click AI headshot generator is a slot machine. You pay your money and pull the lever, hoping for a jackpot. A workflow-based approach is different. It turns you into the creative director of your own photoshoot. You make the crucial decisions about identity, lighting, and style, and the AI handles the technical execution.
By investing a few minutes to build a reusable 'face model' workflow, you gain control, predictability, and a library of assets you can use for years. You're no longer at the mercy of a black-box algorithm. You're in charge of the final image. Use the workflow in this guide to build your own and get the professional, realistic headshots you actually need.
