
You spent hours generating the perfect AI lifestyle shot for your Amazon product. It looks great. But it doesn't match the other five images you made. The lighting is different, the mood is off, and now your product listing looks like a random collage. The problem isn't the AI; it's the lack of a system.
Generating images one by one is a recipe for inconsistency. A high-converting Amazon listing is a cohesive visual story, not a collection of individual pictures. This guide lays out a complete, repeatable workflow inside MyUP.ai to produce an entire, compliant Amazon image block from a single product photo. Stop thinking image by image. It's time to build a system.
First, deconstruct the modern Amazon image block
Before building the workflow, we need to know what we're building. A successful Amazon listing typically uses seven image slots to answer customer questions and build trust. Each has a specific job:
- Image 1: The Main Image. This is the hero shot. Amazon has strict rules: the product must be on a pure white background, filling 85% of the frame, with no extra text or graphics. This is your first impression and a non-negotiable requirement.
- Images 2-4: Lifestyle Images. These show the product in context. A water bottle on a hiking trail, a skincare product on a bathroom vanity, a kitchen gadget in a modern kitchen. They sell the outcome, not just the object.
- Images 5-7: Infographic & Feature Callout Images. These combine visuals with text to highlight key benefits, dimensions, or specifications. They educate the buyer quickly and justify the price.
Generating these with separate tools or prompts leads to a visual mess. The solution is a single, integrated workflow that uses one master asset to ensure consistency across all seven images.
The workflow: from one photo to a complete, on-brand image set
This four-step process takes you from a basic smartphone picture of your product to a full suite of professional, on-brand, and compliant Amazon listing images. All of it happens inside MyUP.
Step 1: Create your master asset (the perfect product cutout)
Every great image set starts with a single source of truth. Your master asset is a high-quality, clean cutout of your product with a transparent background (a PNG file). This ensures the product's shape, angle, and lighting remain identical across every image you generate, which is the foundation of visual consistency.
In MyUP, this is straightforward. You don't need Photoshop. Upload your best product photo—even one taken with your phone against a neutral background—and use the AI background removal tool. With one click, you'll have a perfect, reusable cutout. This master asset is the core component for the next three steps.
Step 2: Generate the compliant, white-background main image
With your master asset ready, creating the rule-following main image is the easiest step. This image has one job: to clearly show the product on a pure white background (#FFFFFF). There's no room for creativity here, only compliance.
Using your product cutout, you can instantly place it onto a clean white canvas in MyUP. For an even faster result, use a template designed for exactly this purpose. The 'Studio Product Ad' workflow is built to create clean, professional product shots that meet Amazon's main image requirements.
Workflow code: #myup-u4lt-o0ho
Studio Product Ad
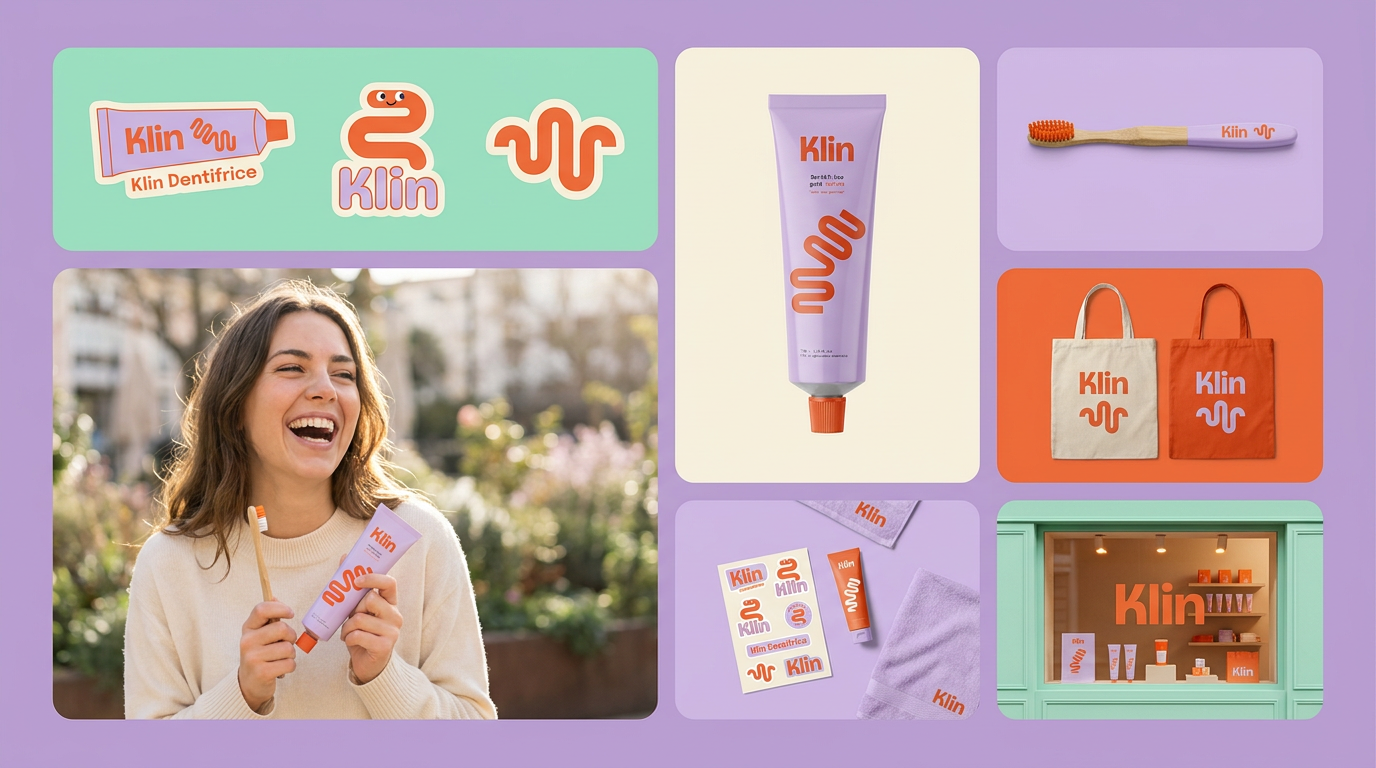
Drop in a single product photo to instantly build a cohesive visual identity. It automatically samples your item's dominant colors to generate a beautifully matched mosaic moodboard, giving your brand an instant, polished aesthetic.
Regenerate using your own assets.
Workflow code: #myup-aon6-zvop
Studio Product Ad
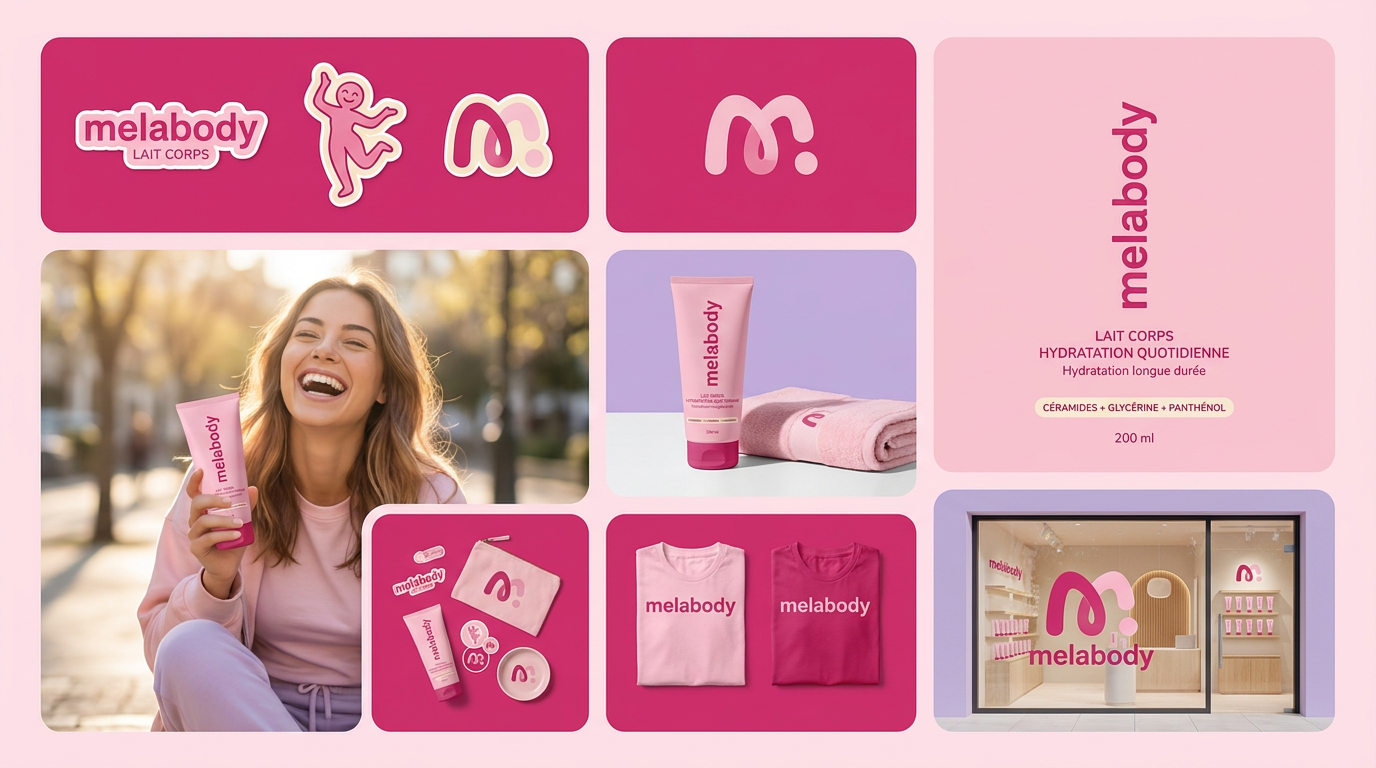
Turn any product photo into a cohesive brand moodboard. It automatically extracts the dominant color from your image to style the background, framing everything in a clean mosaic layout that perfectly matches your aesthetic.
Regenerate using your own assets.
Step 3: Build a library of on-brand lifestyle scenes
Now you can get creative. The goal is to produce three to four different lifestyle images that show your product in realistic, appealing contexts. This is where a workflow approach completely outperforms one-off image generation.
In MyUP, you'll use your master product cutout as the consistent element in every scene. Then, you'll use prompts to build the world around it. The key is to keep the environmental elements consistent with your brand. This is where your MyUP Brandkit is critical. By referencing your brand's colors and style, the AI will generate scenes with a consistent mood, color palette, and lighting. You're not just creating random pretty pictures; you're creating a cohesive set of diverse, on-brand product scenes.
For example, you can use a template like the 'Minimal Vibrant Product Advertising Poster' for a clean, modern feel, or the 'Jewerly Product Ad' for something more elegant and detailed. The AI builds the scene, and you validate the result, ensuring it aligns perfectly with your brand's story.
Workflow code: #myup-zpby-tzie
Minimal Vibrant Product Advertising Poster
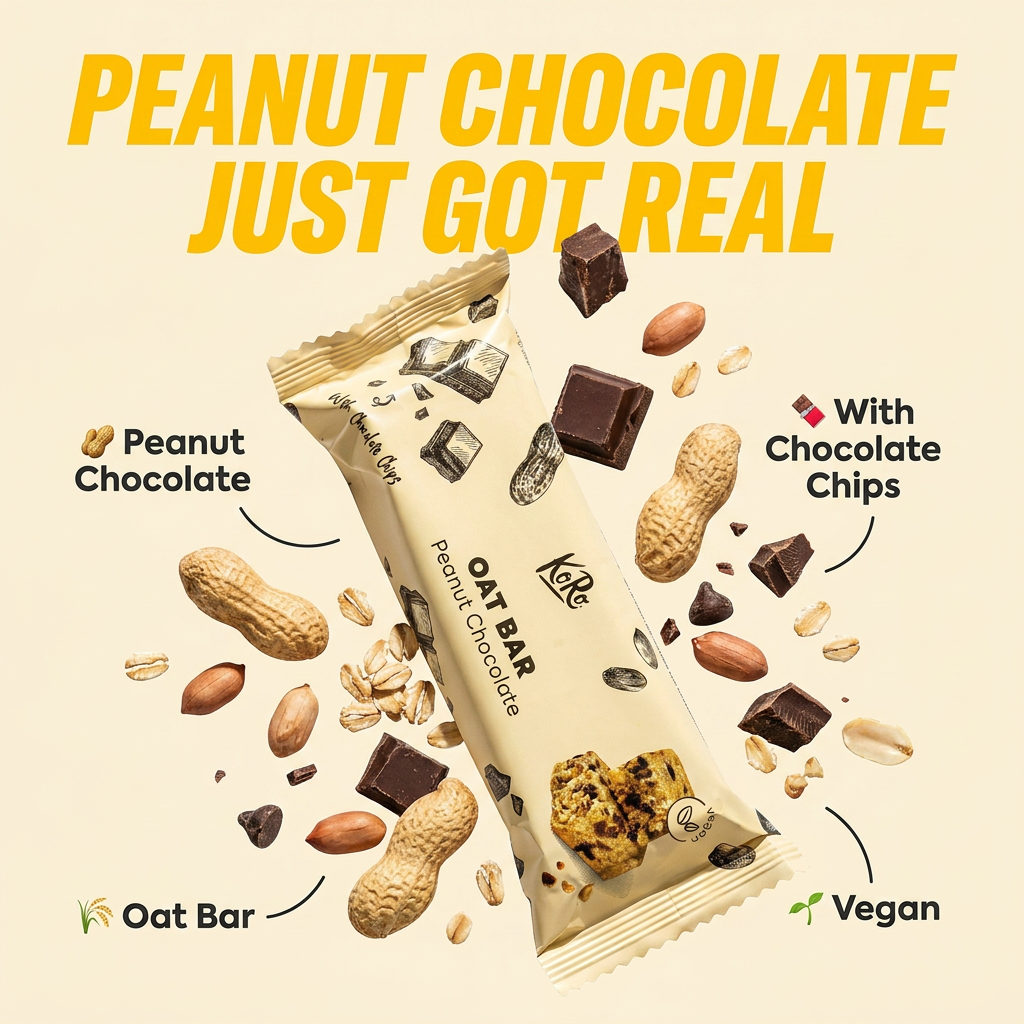
Drop in any product shot and watch it turn into a bold, high-energy square ad. It automatically reads your packaging to pull out the dominant colors and text, then builds a vibrant poster styled perfectly around your brand.
Regenerate using your own assets.
Workflow code: #myup-qtty-nngw
Jewerly Product Ad
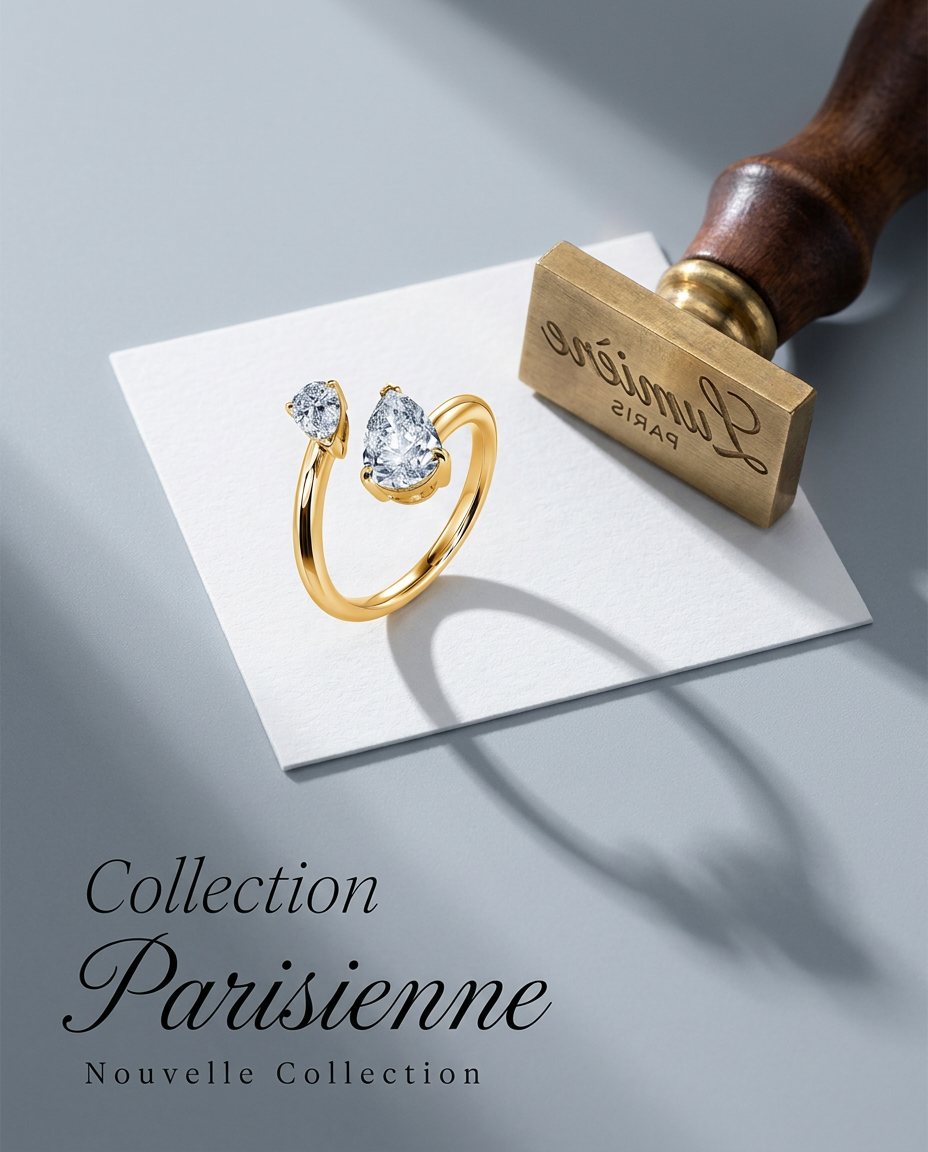
Turn any product into a high-end editorial shot. It drops your item into a clean, flat-lay setup with soft directional light and elegant long shadows against a cool matte gray background.
Regenerate using your own assets.
Step 4: Turn lifestyle shots into high-value infographics
Finally, take one or two of your best lifestyle images and add text overlays to create feature callouts. This is where you transform a lifestyle shot into a conversion tool, pointing out specific benefits and details.
Manually adding text in another program risks using the wrong font or color, breaking brand consistency. The MyUP workflow solves this. When you add text overlays, your Brandkit automatically applies your brand's fonts and colors. There's no guesswork. You simply type the feature, and it appears perfectly on-brand, every time. This is the final step in creating a truly professional and cohesive visual system for your product. To learn more about getting text right in your images, see our guide on the workflow for on-brand text.
The 'Product Brand Post' template is ideal for this, combining your generated image with structured, on-brand text elements.
Workflow code: #myup-kbgo-tlle
Product Brand Post
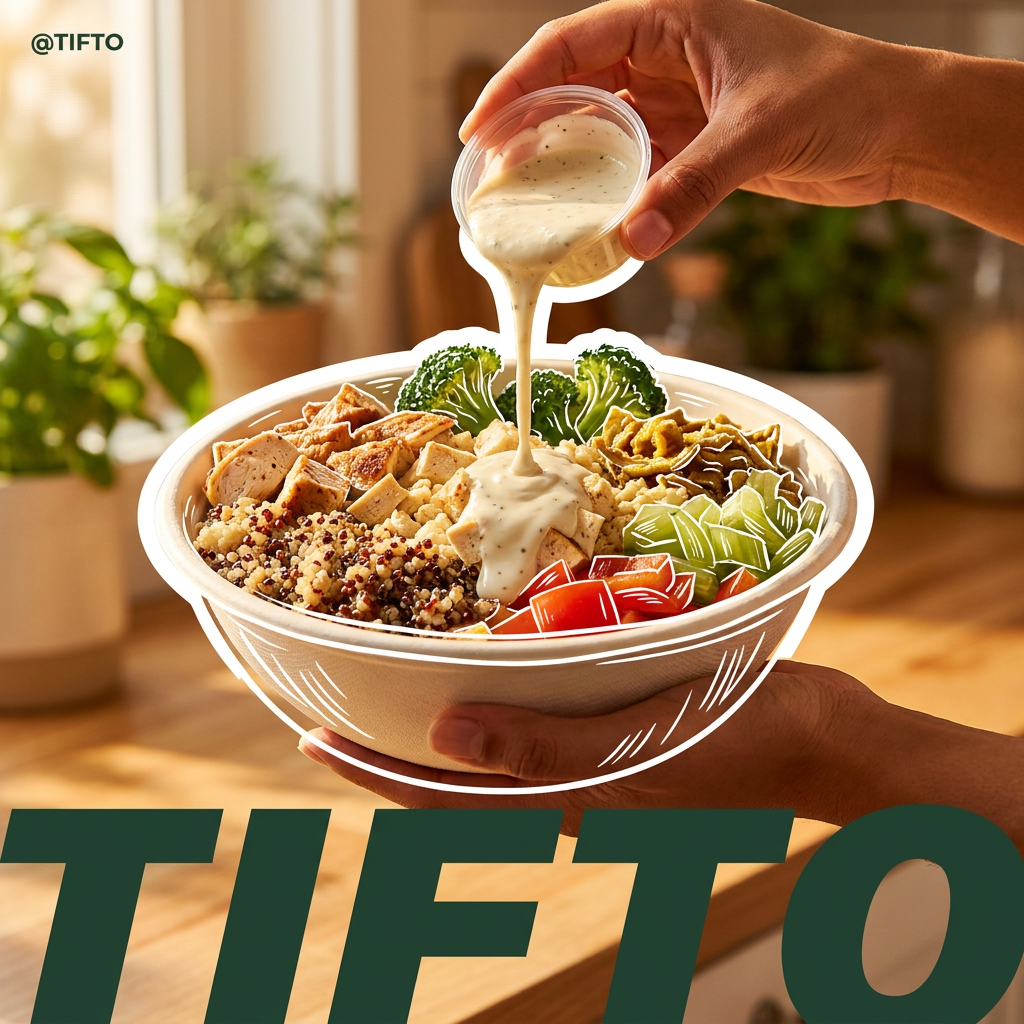
Drop in your product to generate a cohesive nine-post Instagram grid. It blends warm lifestyle photography and flat-lay packaging with bold hand-drawn doodles, collages, and urban billboard mockups. Everything automatically styles itself to your brand's colors.
Regenerate using your own assets.
You're the creative director, MyUP is the production studio
This workflow doesn't remove your control; it automates the tedious production work. You still make the critical decisions: choosing the best source photo, refining the prompts for your lifestyle scenes, and writing the copy for your feature callouts. MyUP acts as your production studio, executing the repetitive tasks of background removal, scene composition, and applying brand styles.
The result is a complete, compliant, and consistent Amazon image block that builds customer trust and drives sales—all without the cost of a photo studio or the complexity of juggling multiple disconnected tools.
