You finally did it. After an hour of prompt wrestling, you have a perfect pixel art sprite. A knight, maybe, with a distinct helmet and a specific shade of blue for the cape. Then you try to generate the next frame — the knight walking — and it's a disaster. The helmet is different, the blue is wrong, and the style is suddenly 8-bit instead of 16-bit. This exact frustration is echoing across social media right now, as indie developers and artists hit a wall with AI-generated game assets. The recent launch of specialized tools like SpriteFusion and new features like Midjourney's '--ctune' only confirms how widespread this problem is. Chasing the perfect prompt for every single frame is a losing battle. What you need is a system. This guide provides that system: a definitive workflow to define your character's visual DNA once in MyUP.ai, and then generate perfectly consistent sprites on demand.
Why your AI pixel art looks like a blurry mess
Before we build the solution, you need to understand the problem. General-purpose AI image models are fundamentally bad at pixel art because they are trained to do the opposite of what pixel art requires. These models excel at creating smooth gradients, subtle textures, and photorealistic details. They are designed to blend, soften, and add complexity. Pixel art, however, is an art of constraints. It demands hard edges, limited color palettes, and the complete absence of anti-aliasing (the blurring of edges to make them look smoother). When you ask a standard AI model for 'pixel art', it often interprets this as a stylistic theme, not a set of rigid technical rules. The result is usually a blurry, over-detailed image that just 'looks' pixelated, with messy dithering and inconsistent pixel sizes. To get authentic results, you can't just ask the AI; you have to force it to abandon its natural tendencies.
Step 1: The foundational prompt for a single, perfect sprite
Our workflow starts with a single, successful generation. The goal is to create a 'master' prompt that establishes the non-negotiable rules for our character and style. This isn't about describing a scene; it's about defining the technical specifications of the asset. Forget simple prompts. A professional pixel art prompt is a detailed technical brief.
Here is a foundational prompt structure you can adapt:
Prompt:16-bit pixel art sprite of a space marine character, full body, standing idle pose, side-scroller perspective, for a video game. Limited 5-color palette (dark grey, cyan, silver, black, red visor). Crisp, clean pixel art, sharp black outlines, no dithering, no anti-aliasing. On a plain white background.
Negative Prompt:blurry, fuzzy, soft, gradient, anti-aliasing, dithering, interpolation, photorealistic, 3D, jpeg artifacts, noise, signature, watermark
Let's break down why this works:
- Specify the 'Bit' Depth: Terms like '8-bit', '16-bit', or 'SNES-style' give the AI a clear historical and technical anchor.
- Define the Constraints: Explicitly state 'limited 5-color palette' and 'no anti-aliasing, no dithering'. You must forbid the AI from doing what it normally does.
- Set the Context: Phrases like 'sprite', 'for a video game', and 'side-scroller perspective' are critical. They tell the model the intended use, which heavily influences the output format (e.g., a clean, isolated character).
- Aggressive Negatives: The negative prompt is just as important. It reinforces all the technical constraints, clearing out the model's tendency to add gradients, blurriness, and other unwanted effects.
Run this prompt in MyUP's image generator until you get a single sprite that perfectly matches your vision. This is your cornerstone asset. The user's job is to validate this single creative choice; MyUP will handle the production from here.
Step 2: Build a reusable character Brandkit in MyUP
Now that you have the DNA of your character captured in a successful prompt, the next step is to stop copying and pasting. You need to save these rules into a system. This is the core of the workflow and what separates one-off results from a scalable production pipeline. In MyUP, this system is the Brandkit.
Instead of treating your character's style as a temporary instruction in a prompt, a Brandkit treats it as a permanent, reusable asset. Here’s how to set it up:
- Create a New Brandkit: In MyUP, navigate to your Brandkits and create a new one. Name it after your character or game (e.g., 'Space Marine Character' or 'Galaxy Raiders Game Assets').
- Define the Visual Style: In the Brandkit's style description field, paste the core stylistic elements from your foundational prompt. This is where you codify the rules. For example: '16-bit pixel art sprite style, side-scroller perspective, limited 5-color palette (dark grey, cyan, silver, black, red visor), crisp pixels, sharp black outlines, no dithering, no anti-aliasing.'
- Add Colors and Fonts (Optional but helpful): Add the specific hex codes for your 5-color palette to the Brandkit's color section. This gives MyUP another layer of brand constraints to work with, especially for promotional materials.
Your Brandkit is now a container for your character's entire visual identity. You've taught MyUP the rules of your world. You no longer need to repeat them in every prompt. This is how you move from prompting to directing.
Step 3: Generate a full, consistent sprite sheet
This is where the magic happens. With your 'Space Marine Character' Brandkit active, you can now generate every other frame you need with extremely simple, action-focused prompts. The Brandkit automatically applies all the complex style rules you just saved.
Select your Brandkit in the MyUP generator and try these prompts:
- walking animation, frame 1
- walking animation, frame 2
- jumping sprite
- attacking with laser rifle sprite
- taking damage sprite
The output will be stunningly consistent. The color palette, the 16-bit style, the outline thickness, and the character's core design will remain locked in across every single generation. The Brandkit acts as a permanent style guide, forcing the AI to conform to the rules you set in Step 2. You can generate dozens of frames in minutes, not hours, building out a complete sprite sheet where every asset looks like it was made in the same session by the same artist. This method is far more robust than prompt-based consistency techniques because the style definition exists outside of the prompt itself. It's a key part of creating any consistent AI brand mascot or character.
Step 4: Create promotional assets with your new character
Your character doesn't just live in the game engine. With a consistent visual identity locked in your MyUP Brandkit, you can instantly pivot to creating marketing and community assets.
Because the Brandkit holds the character's style, you can place them in entirely new contexts. Want to make some cool stickers for your Discord community or merch store? A simple prompt is all you need. The 'Product Stickers' workflow is perfect for this, turning your sprite into a die-cut sticker design automatically.
Workflow code: #myup-swqt-4zo3
Product Stickers
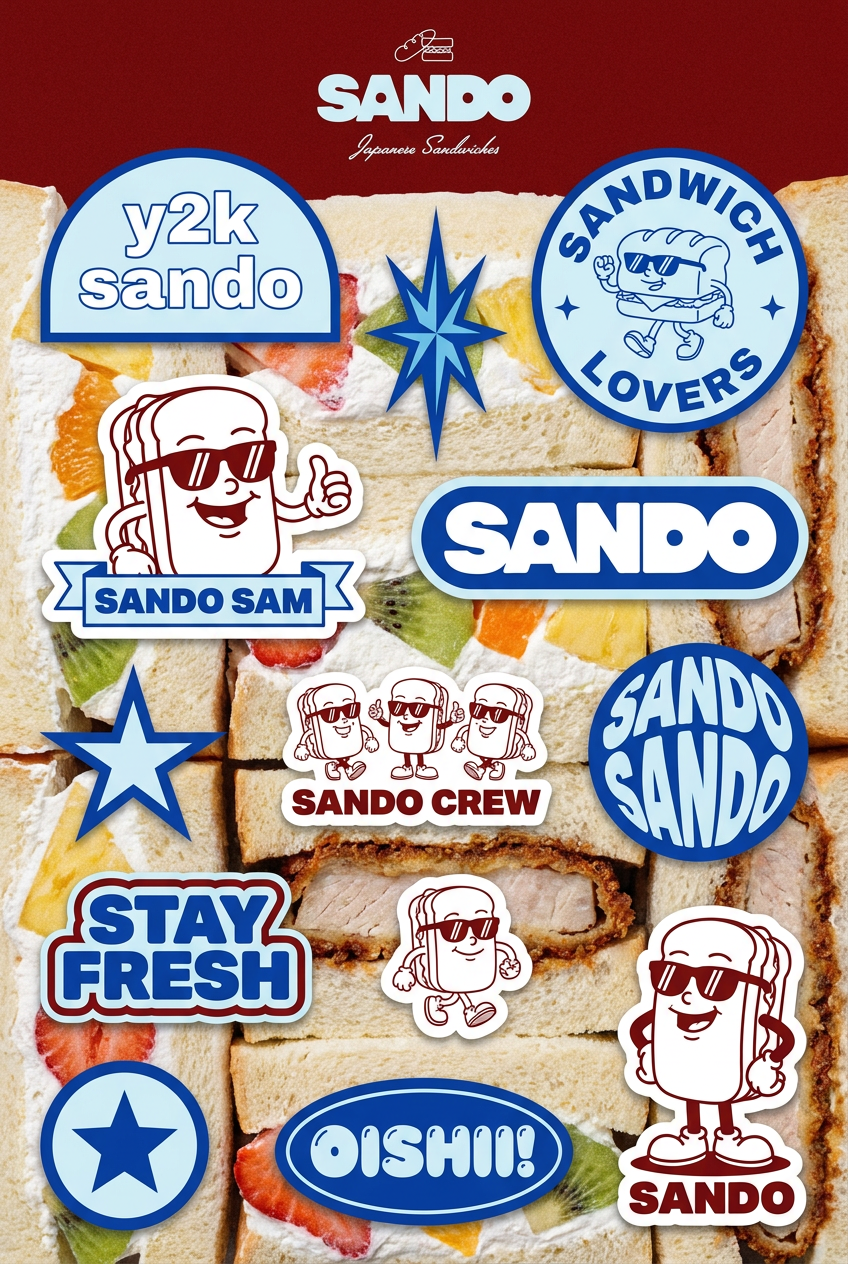
Turn your logo into a nostalgic, vibrant Y2K-style vertical ad. It automatically pulls your brand colors to create matching sweet treats like custom donuts or cupcakes in the background, giving you a super playful retro-pop aesthetic.
Regenerate using your own assets.
Need a poster to announce your game's launch or a new update? You can generate promotional art that perfectly matches your in-game assets. Use your character Brandkit and a simple prompt like 'Space marine standing on a desolate alien planet, looking at a futuristic city in the distance' within a poster template. MyUP will handle the composition while ensuring the character rendering is perfectly consistent with your sprites.
Workflow code: #myup-xbur-hzoi
Bold Retro Yellow Event Poster
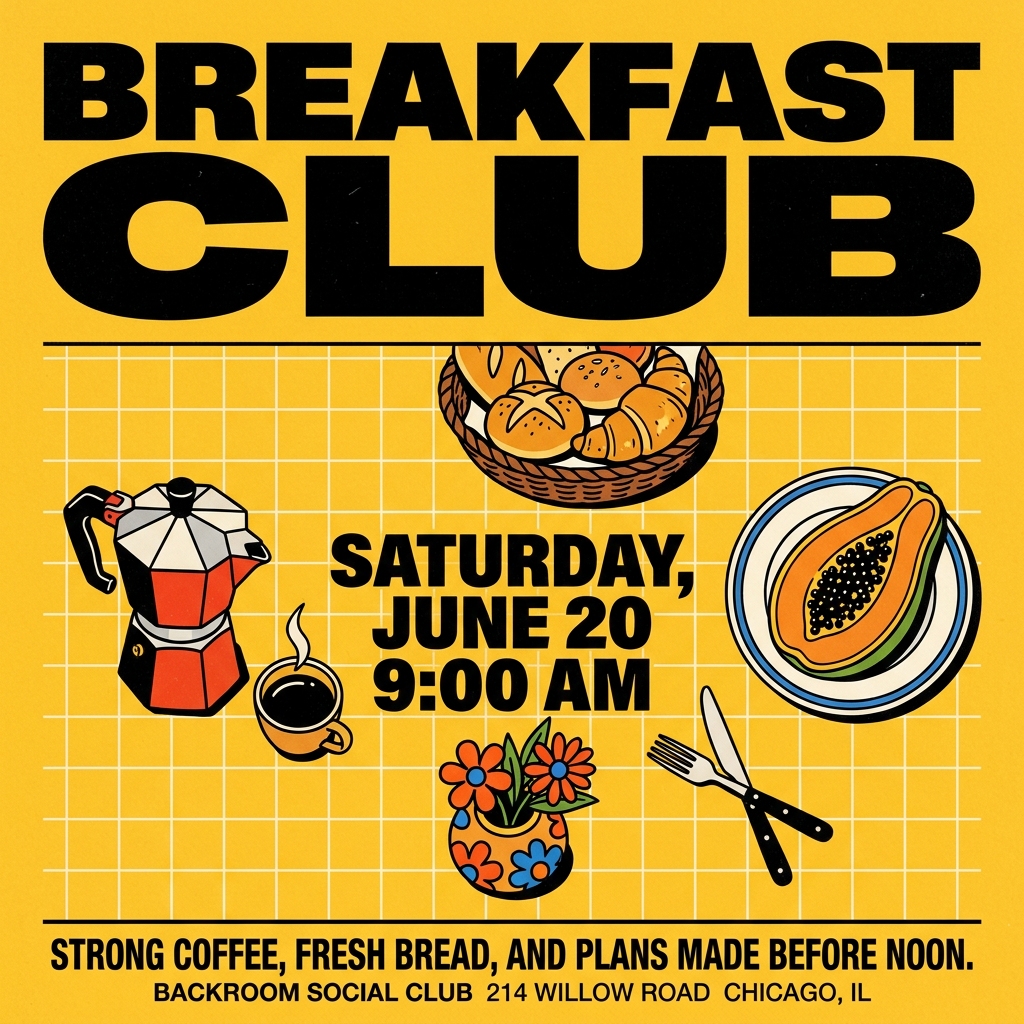
Turn your branding or event details into bold, nostalgic posters. It blends vibrant warm backdrops with a clean, retro square grid pattern to make any announcement look like a classic piece of mid-century graphic design.
Regenerate using your own assets.
This is the power of a workflow-based approach. The character becomes a reusable brand asset, ready for any marketing task without the risk of visual deviation.
The workflow is the tool, not the prompt
The endless hunt for the 'perfect prompt' is a trap that leads to inconsistent results and wasted time. For technical art forms like pixel art, true consistency and speed don't come from a magic combination of words. They come from a disciplined, repeatable system. By defining your character's visual rules once in a MyUP Brandkit, you externalize the style guide. You let the system enforce the constraints, freeing you up to focus on the creative direction — what the character is doing, not how they should be drawn. The user's job is to set the vision. MyUP's job is to execute it, consistently, every single time.
