You’ve seen the new one-click AI animation tools. Midjourney’s experimental '--animate' parameter and Canva’s 'Magic Animate' feature have flooded social feeds in June 2026 with instantly generated GIFs. The promise is incredible: turn any idea into motion with a single prompt. But if you’ve tried using them for actual brand content, you’ve likely hit the wall of reality: the flickering, the bizarre morphing, and the complete lack of brand control.
A marketing GIF is a piece of communication, not a random meme. It needs to be consistent, clear, and instantly recognizable as yours. This guide lays out the repeatable workflow for creating professional, flicker-free GIFs that are locked to your brand from the very first frame.
Why prompt-only GIF generators fail: the consistency problem
The core issue with prompt-only animation tools is that they treat every frame as a new guess. When you ask a tool like Midjourney to animate a prompt, it isn't moving a persistent object through space; it's generating a sequence of closely related but distinct images. This process is what causes the tell-tale AI flicker, where details, lighting, and even character features subtly shift from one frame to the next.
Creators are resorting to incredibly complex workarounds, sharing multi-step node charts for ComfyUI on Reddit just to achieve stable results. This proves the need is real, but the solution shouldn't require a degree in data science. The problem isn't the final animation step; it's the unstable foundation. You can't build a consistent animation on a series of inconsistent frames.
The solution: A workflow that starts with your brand, not a guess
To get a professional result, you need to flip the process. Instead of starting with a prompt and hoping for a good animation, you start with a perfect, on-brand static image—a keyframe—and then apply controlled motion. This is the fundamental difference in the MyUP workflow.
It all begins with your Brandkit. By first creating a Brandkit in MyUP—a central hub for your logo, colors, fonts, and visual style—you ensure that every asset you generate already contains your brand's DNA. The AI doesn't have to guess your shade of blue or your preferred photographic style; it's already built-in. This gives you a stable, on-brand foundation to build upon, turning animation from a game of chance into a reliable production process where you, the user, validate the output.
Step 1: Generate your static keyframe with a Brandkit
Your first step in MyUP isn't writing an animation prompt. It's creating the single perfect image that will serve as the anchor for your GIF. With your Brandkit selected, you can generate a static image that is already 100% on-brand. The colors are right, the style is right, and the composition is exactly what you need.
This single frame is your moment of human control. You approve this image before any motion is ever applied. This completely eliminates the risk of the AI producing an animation that's visually off-brand. You're not fixing errors; you're building on a perfect foundation.
For example, you can create a set of on-brand illustrated stickers to use across your social channels. Instead of prompting for a random sticker, you can use a workflow to generate one that perfectly matches your brand's aesthetic.
Workflow code: #myup-swqt-4zo3
Product Stickers
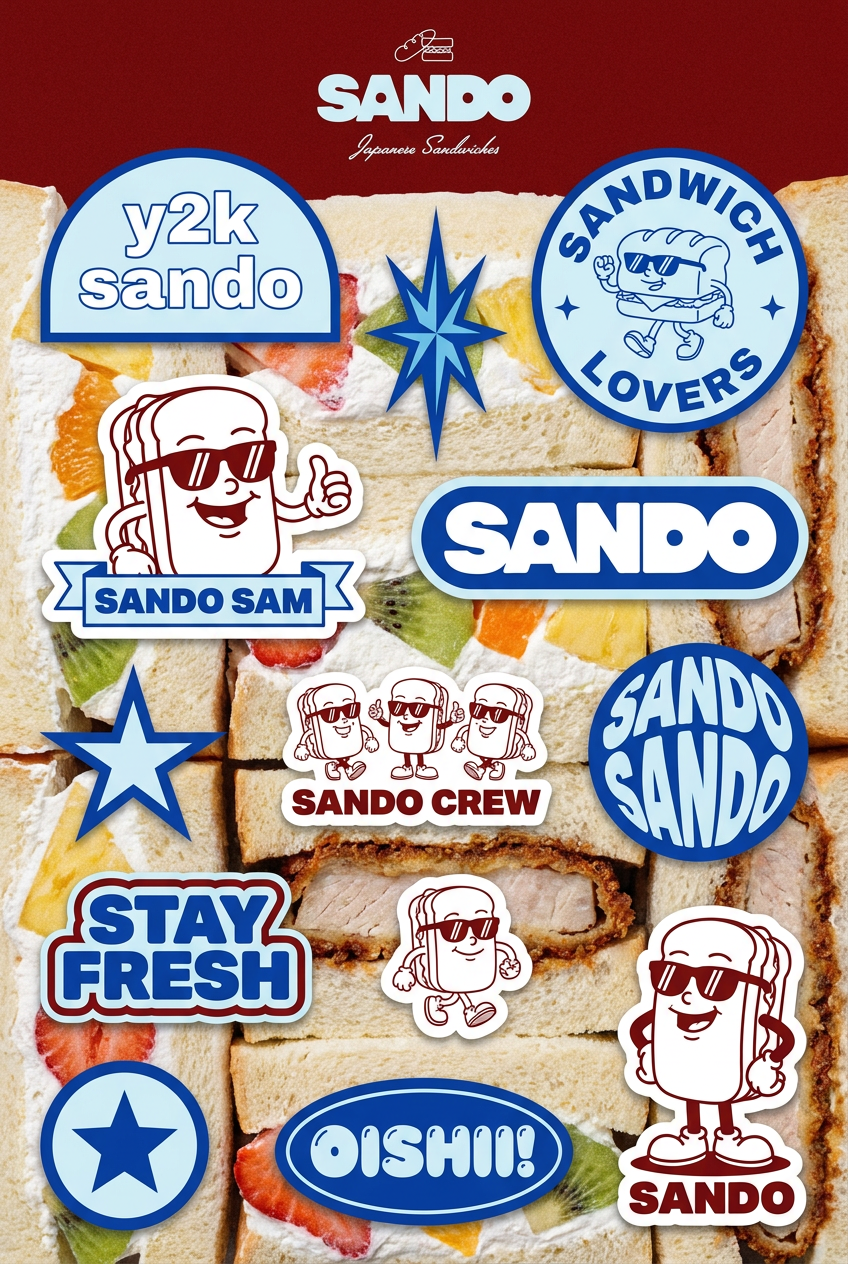
Turn your logo into a nostalgic, vibrant Y2K-style vertical ad. It automatically pulls your brand colors to create matching sweet treats like custom donuts or cupcakes in the background, giving you a super playful retro-pop aesthetic.
Regenerate using your own assets.
Step 2: Add controlled motion for a seamless loop
Once you have your approved keyframe, you can bring it to life. MyUP’s image-to-video model lets you apply specific, controlled camera movements to your static image. Instead of hoping the AI understands what you mean by 'animate this,' you give it a direct command: zoom in, pan left, rotate clockwise, or create a 'boomerang' effect that loops seamlessly.
Because the motion is being applied to a single, stable image, there is no frame-to-frame inconsistency. No flicker, no morphing. The result is a clean, smooth, and intentional animation that looks professional. This is the same principle behind creating consistent AI stop-motion animation; you need a stable base asset. A complex collage, for instance, can be animated with a subtle zoom to draw the viewer's eye without distorting the individual elements.
The template below is a great starting point for creating a rich visual that you can then animate with a simple, controlled camera pan.
Workflow code: #myup-sacz-tjdn
Y2K Scrapbook Collage Creator
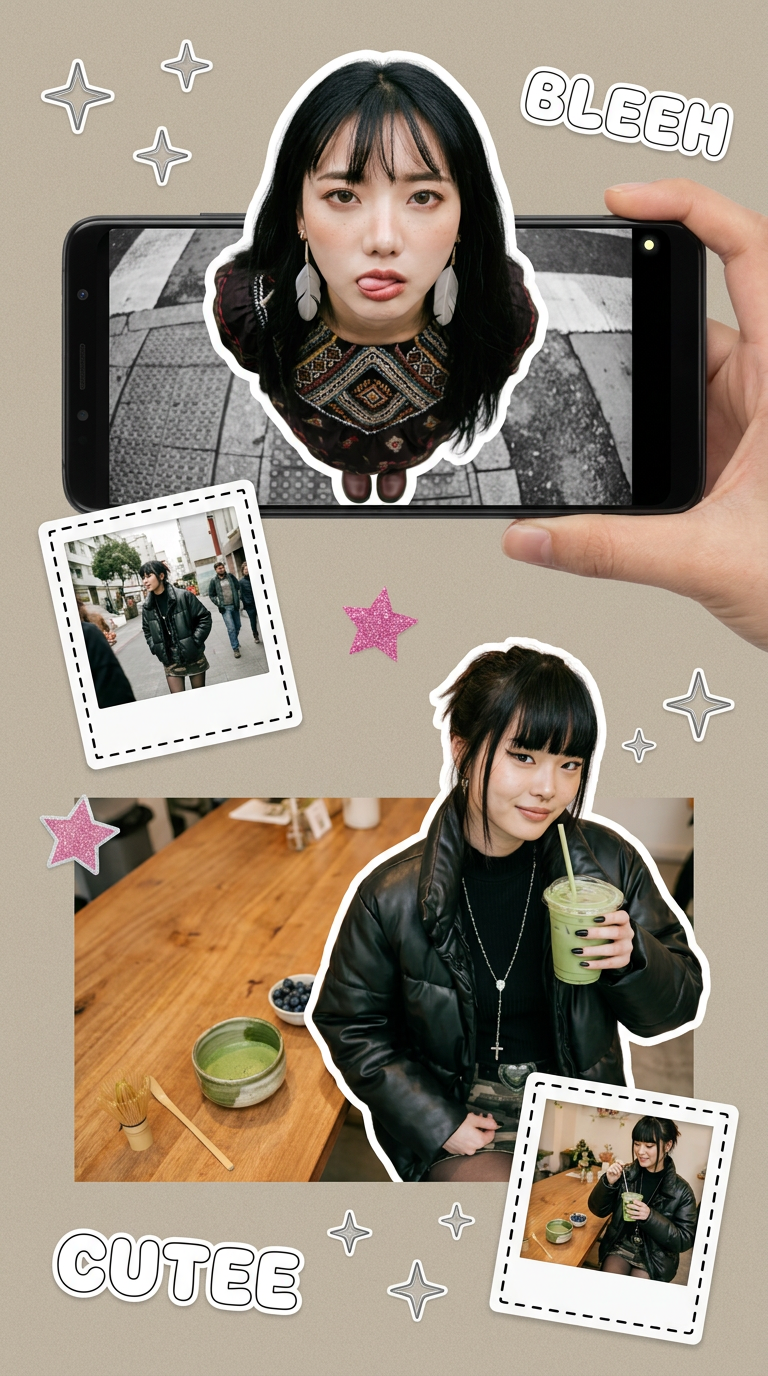
Put two different people into the same scene without losing their real-world features. Just upload two portraits and drop them together into any setting or style you need. It keeps both faces incredibly accurate.
Regenerate using your own assets.
Bonus workflow: Create 'living photos' without chaining three apps
The 'living photo' or cinemagraph—a still image with a single, subtly moving element—is a popular and engaging content format. But creating one with AI has typically meant a frustrating process of tool-chaining: generating an image in one tool, animating it in another like Runway, and masking it in a third. This is slow, expensive, and difficult to repeat.
The MyUP workflow solves this in one place. You generate your perfect, on-brand static scene using a template. Then, you apply a very subtle, controlled motion (like a slow zoom or a gentle pan). The result is a high-quality cinemagraph effect without ever leaving the platform. This is perfect for creating eye-catching product shots or even simple logo animations that feel premium and polished.
Start with a clean product shot template like this one, then apply a 'slow zoom in' motion to create an elegant, engaging GIF for your social feed or product page.
Workflow code: #myup-sygb-rhnt
Minimalist Vertical Product Advertising Poster
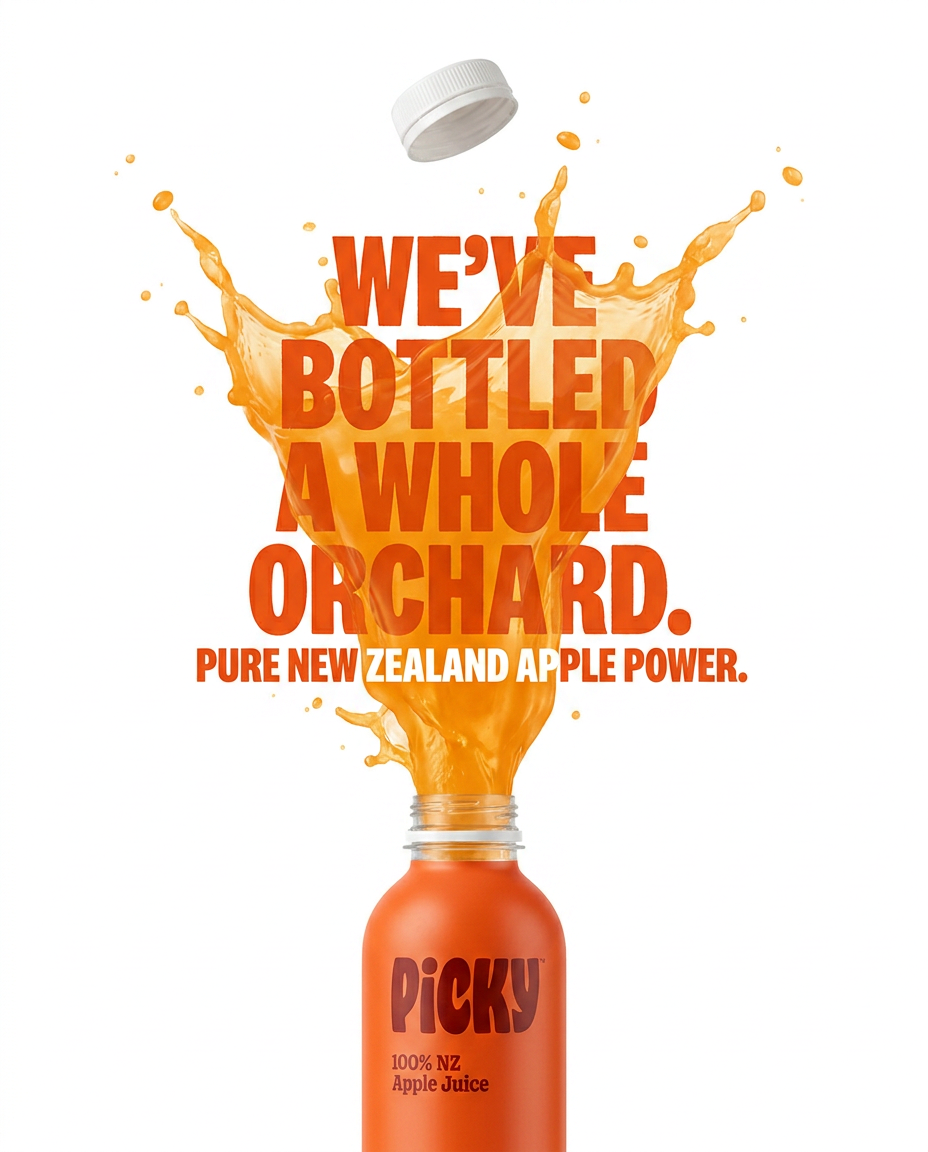
Drop the clutter and put your product in the spotlight. This setup places your item against a pure, seamless white background with a striking vertical flow that draws the eye straight up. It's perfect for creating clean, high-end studio posters.
Regenerate using your own assets.
A repeatable system is better than a lucky shot
The appeal of one-click tools is undeniable, but for brand content, a lucky shot isn't a strategy. Consistency, control, and brand alignment are what separate professional content from amateur experiments. A workflow that starts with your brand identity as its foundation will always outperform a random prompt.
By using a system—Brandkit first, then a static keyframe, then controlled motion—you move from being a prompt operator hoping for a good result to a creative director guiding the AI to produce the exact asset you need. MyUP is designed for this repeatable, brand-centric workflow. Try one of the templates above to see the difference for yourself.
